System Version
1.0.15
Status
Good
System Variant
desktop
Last Update
2024-10-17
Milk-V Jupiter Bianbu Test report
Test Environment
System Information
- Download Link: https://github.com/milkv-jupiter/jupiter-bianbu-build/releases
- Note we’re using the image provided by Milk-V rather than the one from SpacemiT
- Reference Install manual: https://milkv.io/docs/jupiter/getting-started/boot
- titanflasher: https://github.com/milkv-jupiter/jupiter-tools/releases/tag/titanflasher
Hardware Information
- Milk-V Jupiter Board (Key Stone K1/M1, 4G/8G/16G)
- M1 + 16G is tested in this report
- DC 5.5*2.5mm 12V PSU / USB PD (12V required) / ATX PSU
- 12V 3A is recommended for DC PSU, if more power is needed (e.g. using PCI-E peripherals) then ATX PSU is preferred
- USB Type-C port isn’t available when flashing using
titanflasherorfastboot, external DC/ATX PSU is required - In this test report we’re using a 12V 3A DC power supply
- A microSD card, or eMMC module, or NVMe SSD
- Boot priority:
microSD > NVMe SSD > eMMC - When booting from SD, the board won’t go through SPI Flash
- If either NVMe SSD or eMMC module is installed,
titanflasherwill only flash U-Boot to SPI Flash - In this test report we’re using NVMe SSD, model: Samsung PM961 128GB
- Boot priority:
- A USB to UART debugger
- In this test report we’re using CH343P
- USB Type-C cables (depends on your usage, at least one for flashing OS image)
- USB keyboard/mouse, HDMI cable, HDMI monitor/capture card (if using
desktopvariant)
Installation Steps
Flash Image (microSD Card)
Please make sure to choose the file ending with .img.zip
After downloading and extracting the image, use dd to flash the image to the microSD card.
Notice: there are two files, zip.001 and zip.002, download them all to extract the image.
sudo wipefs -af /dev/sdX
sudo dd if=milkv-jupiter-bianbu-23.10-desktop-k1-v1.0.15-release-2024-0907.img.zip of=/dev/sdX bs=1M status=progress
sync
Flash Image (eMMC/NVMe SSD)
Please make sure to choose the zip file without .img
Aside from microSD card, Jupiter also supports booting from eMMC or NVMe SSD.
If both are installed, titanflasher or fastboot by default will prefer flashing NVMe, and Jupiter and also boot from NVMe.
You may use either titanflasher or fastboot to flash the image, the latter requires unzipping.
On Windows titanflasher is recommended since driver install is needed.
Flash steps
- Download
titanflasherfrom GitHub.
In Windows, during the installation process, you’ll be prompted to install fastboot/adb driver signed by SpacemiT CA.
You’ll need to allow the driver installation.
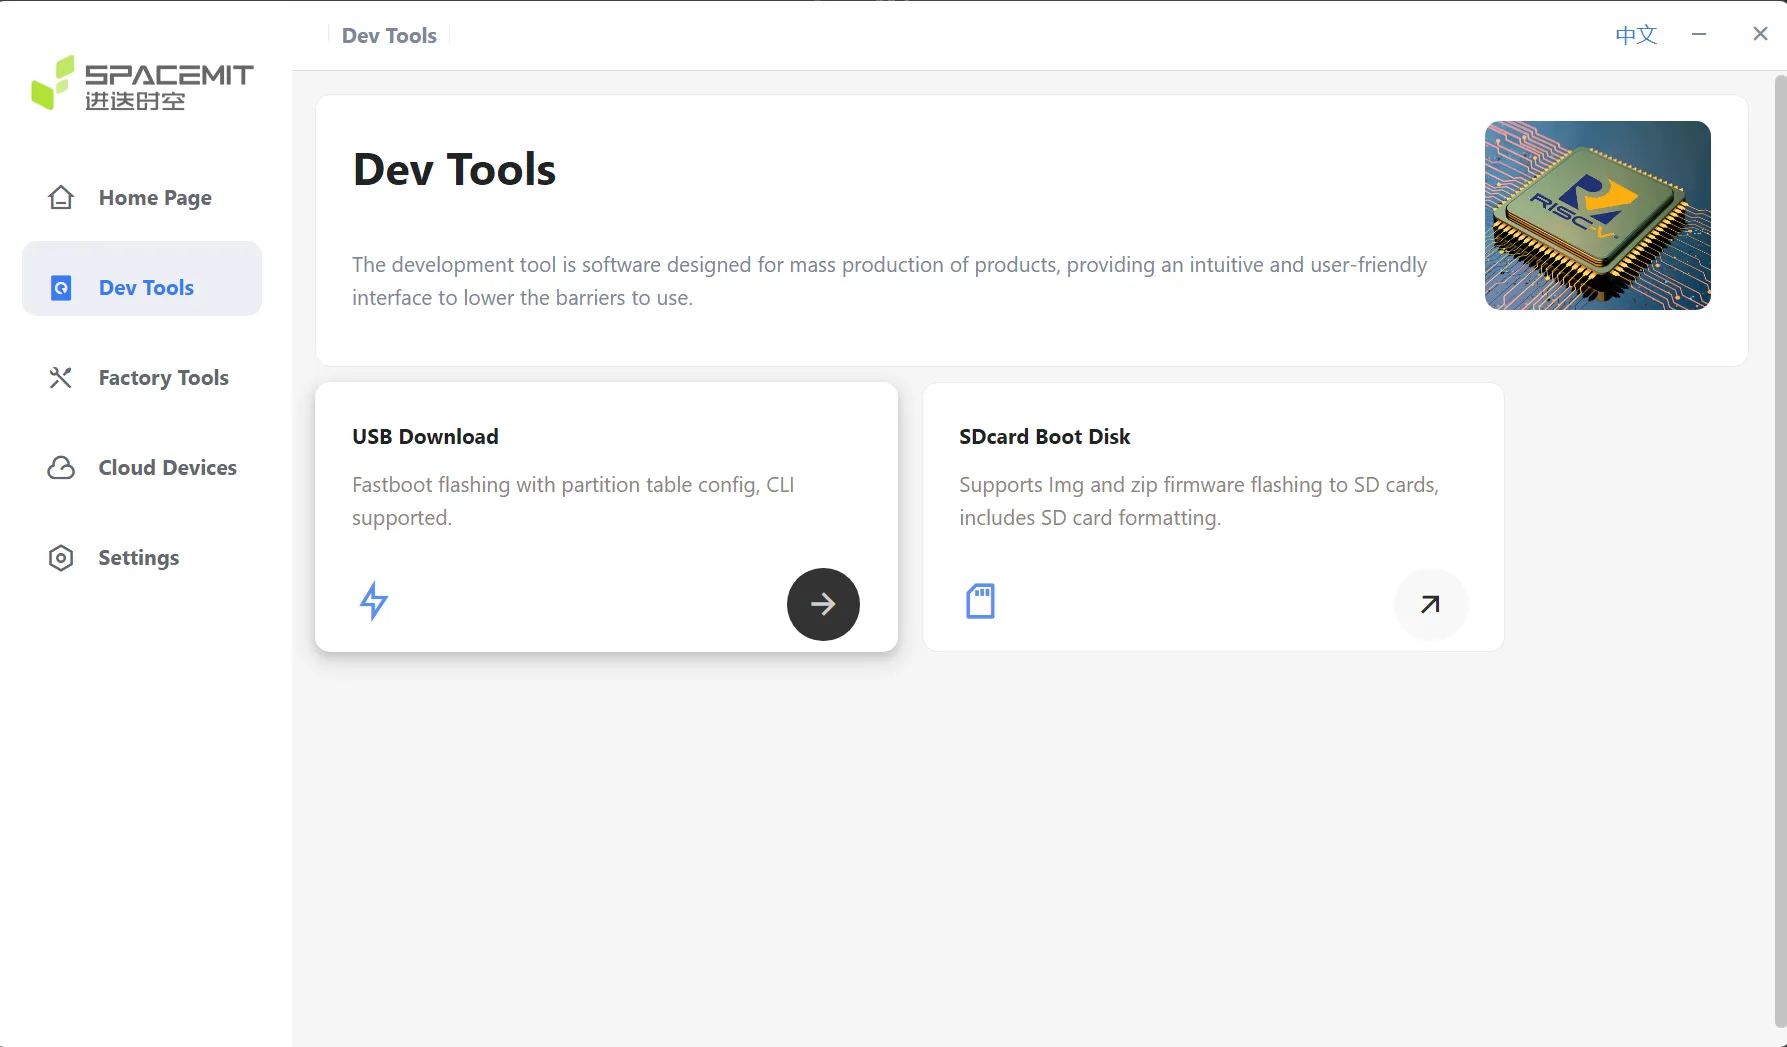
- Launch
titanflasher,选择Dev Tools -> USB Download。
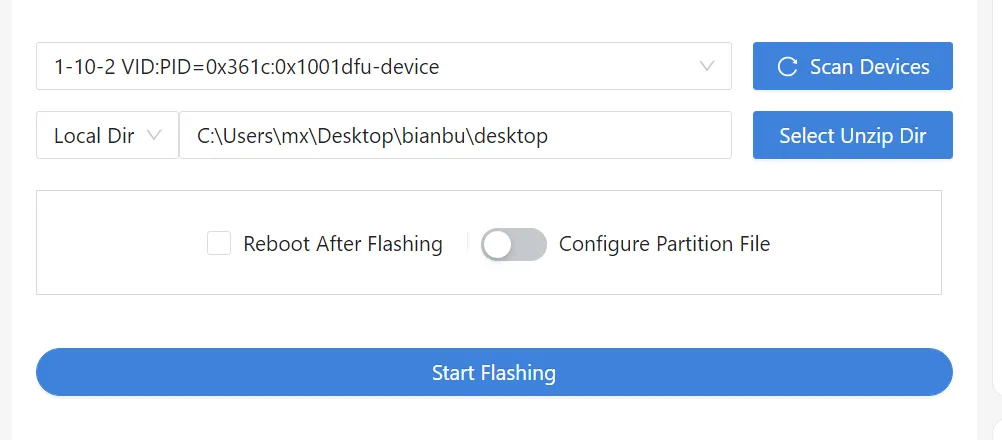
- Select the zip file you just downloaded. Or if you’ve unzipped it, you can also choose
Local Dir.

-
Connect Jupiter with PC using USB Type-C cable.
-
Hold
RECOVERYbutton (above the eMMC socket) or shortRECOVERYpins (near the Wi-Fi IPEX socket), then plugin power for Jupiter. -
Click
Scan Devicesintitanflasher. Adfu-deviceshould show up.
-
Click
Start Flashing. DO NOT poweroff or remove the USB cable. -
Wait until it’s done. If you ticked
Reboot after flashingthen Jupiter should auto reboot after the flashing process.
If not, disconnect the PSU and then reconnect it. Jupiter will automatically power on.
Logging into the System
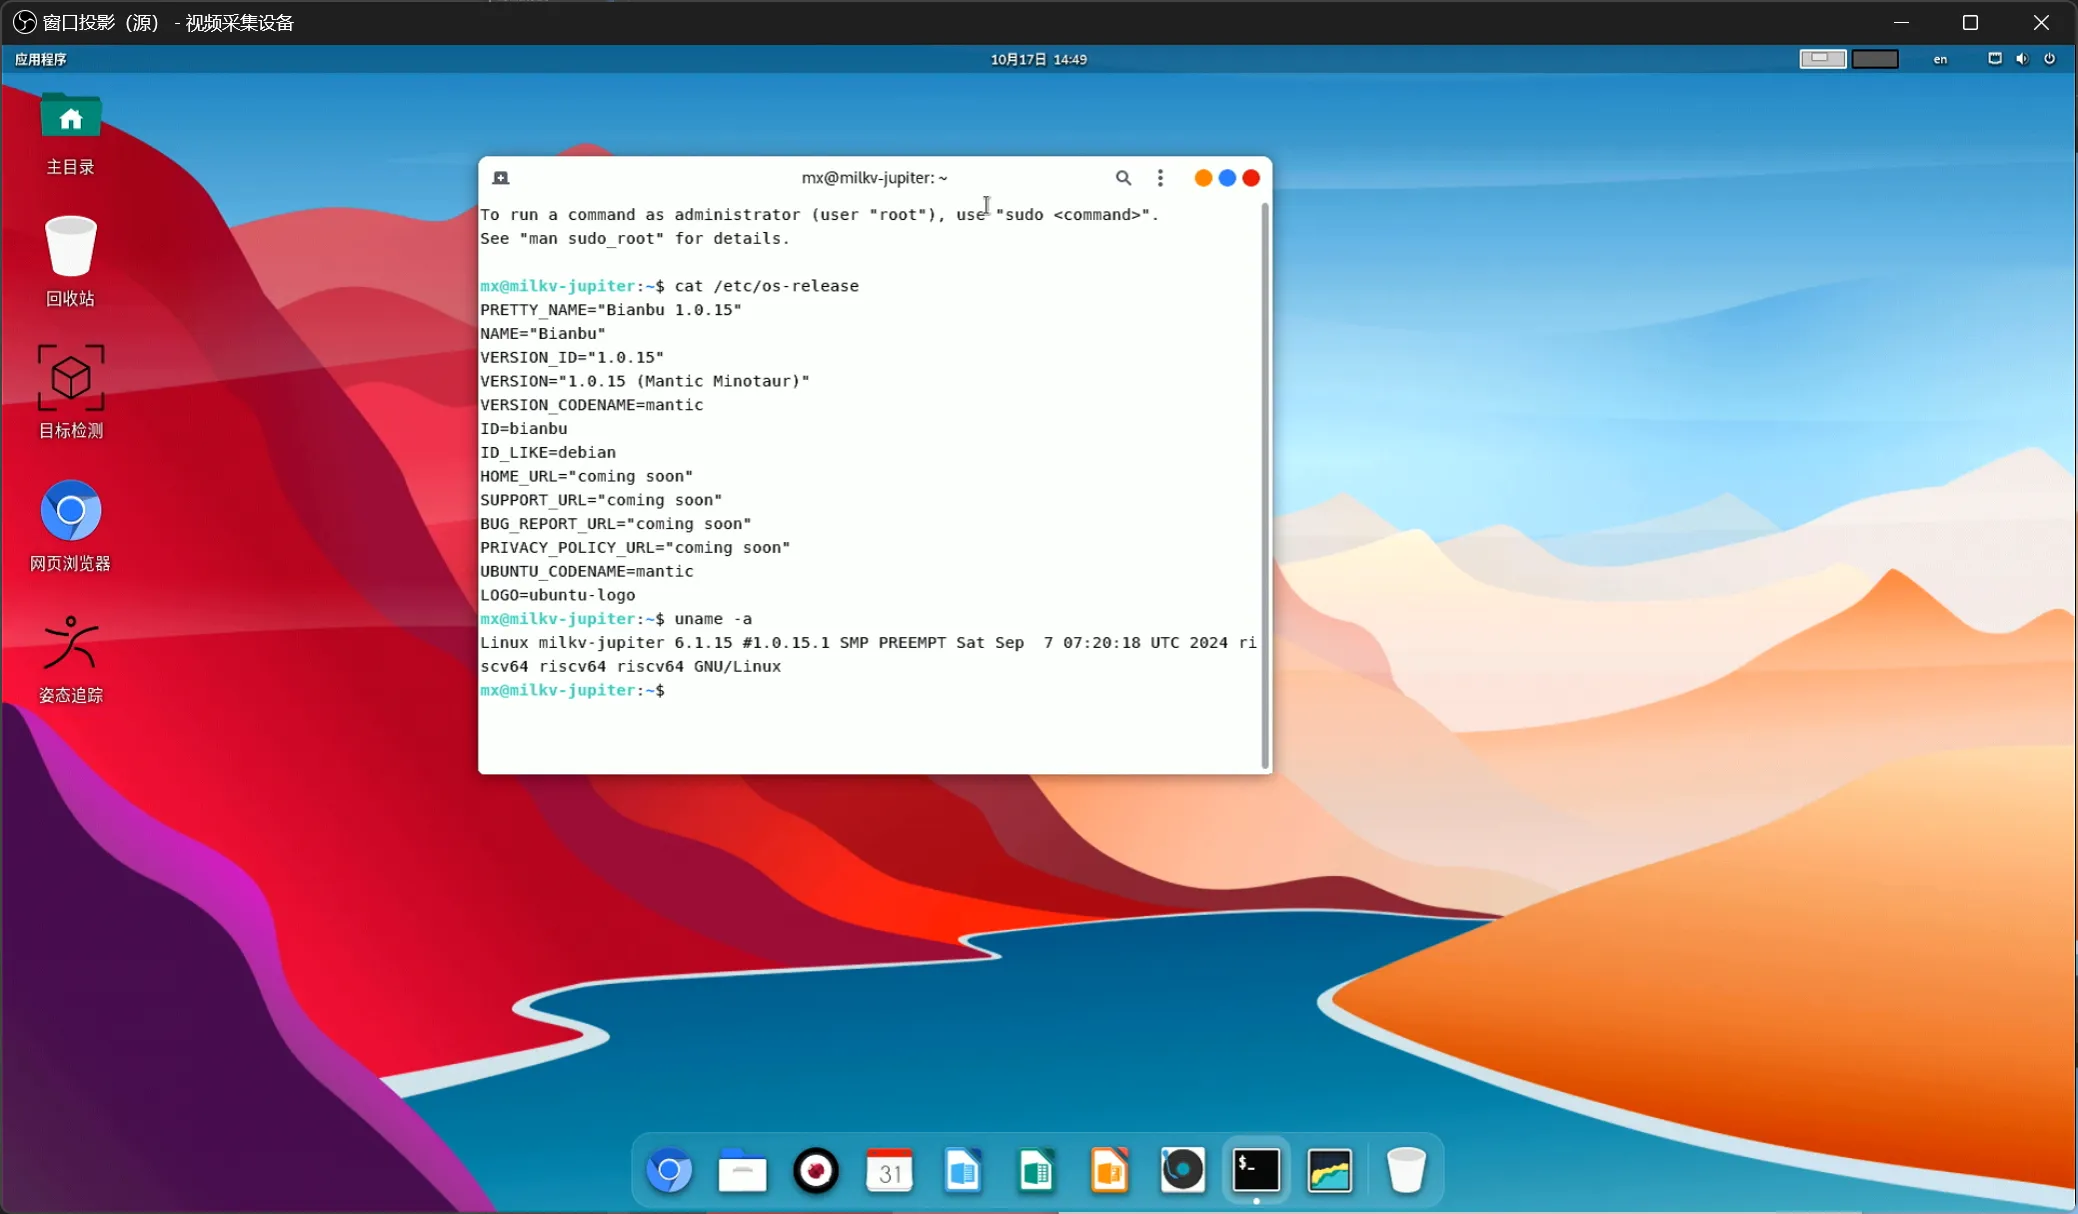
Logging into the system via the serial port.
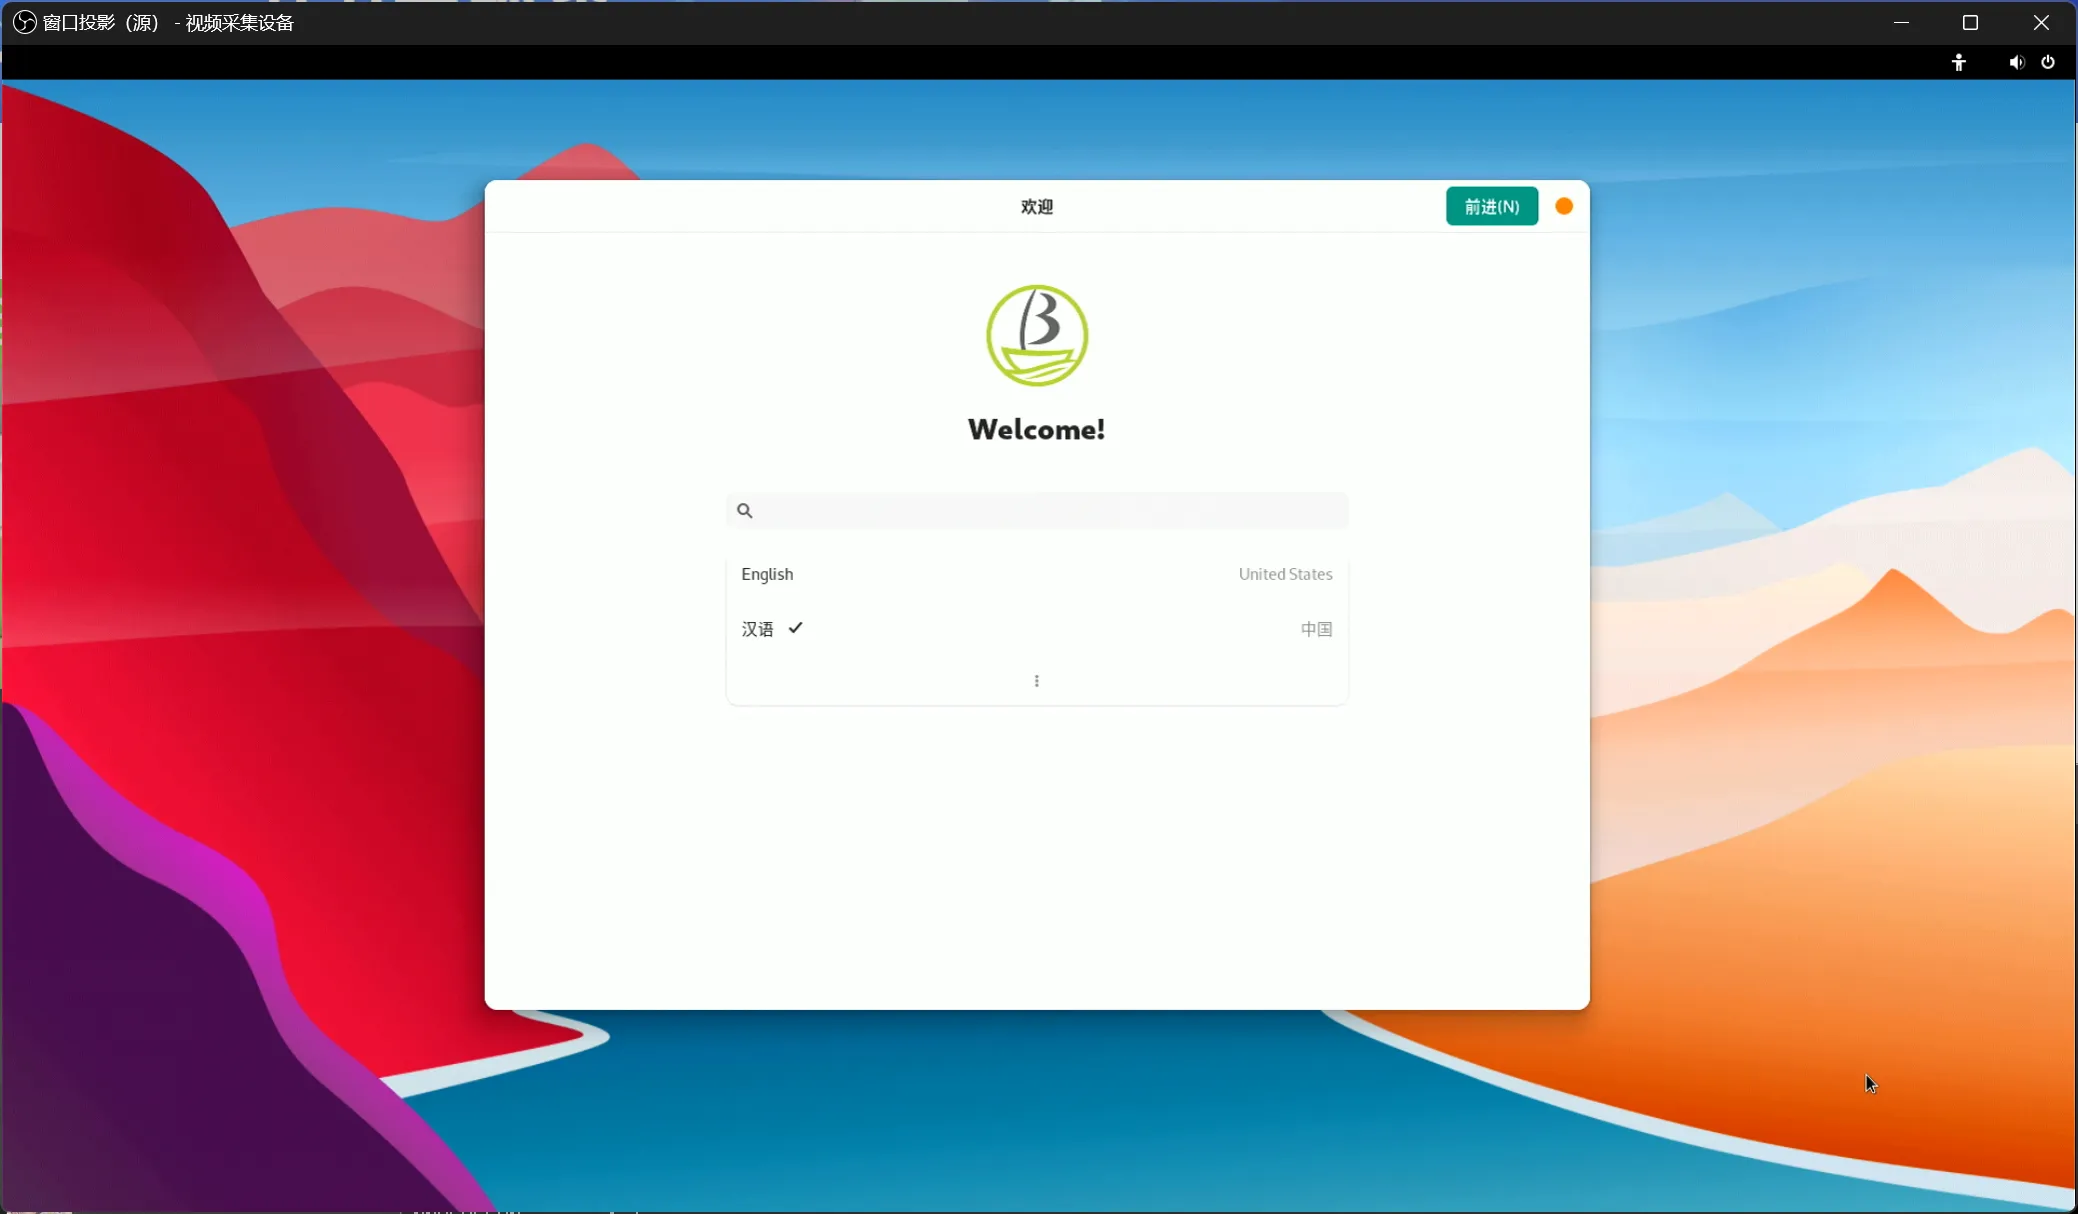
If you’re using desktop image, you can also login from the GUI using keyboard and mouse.
Note: You’ll be prompted to setup your account on first boot.
Default Username: root
Default Password: milkv
Expected Results
The system should boot normally and allow login via the onboard serial port.
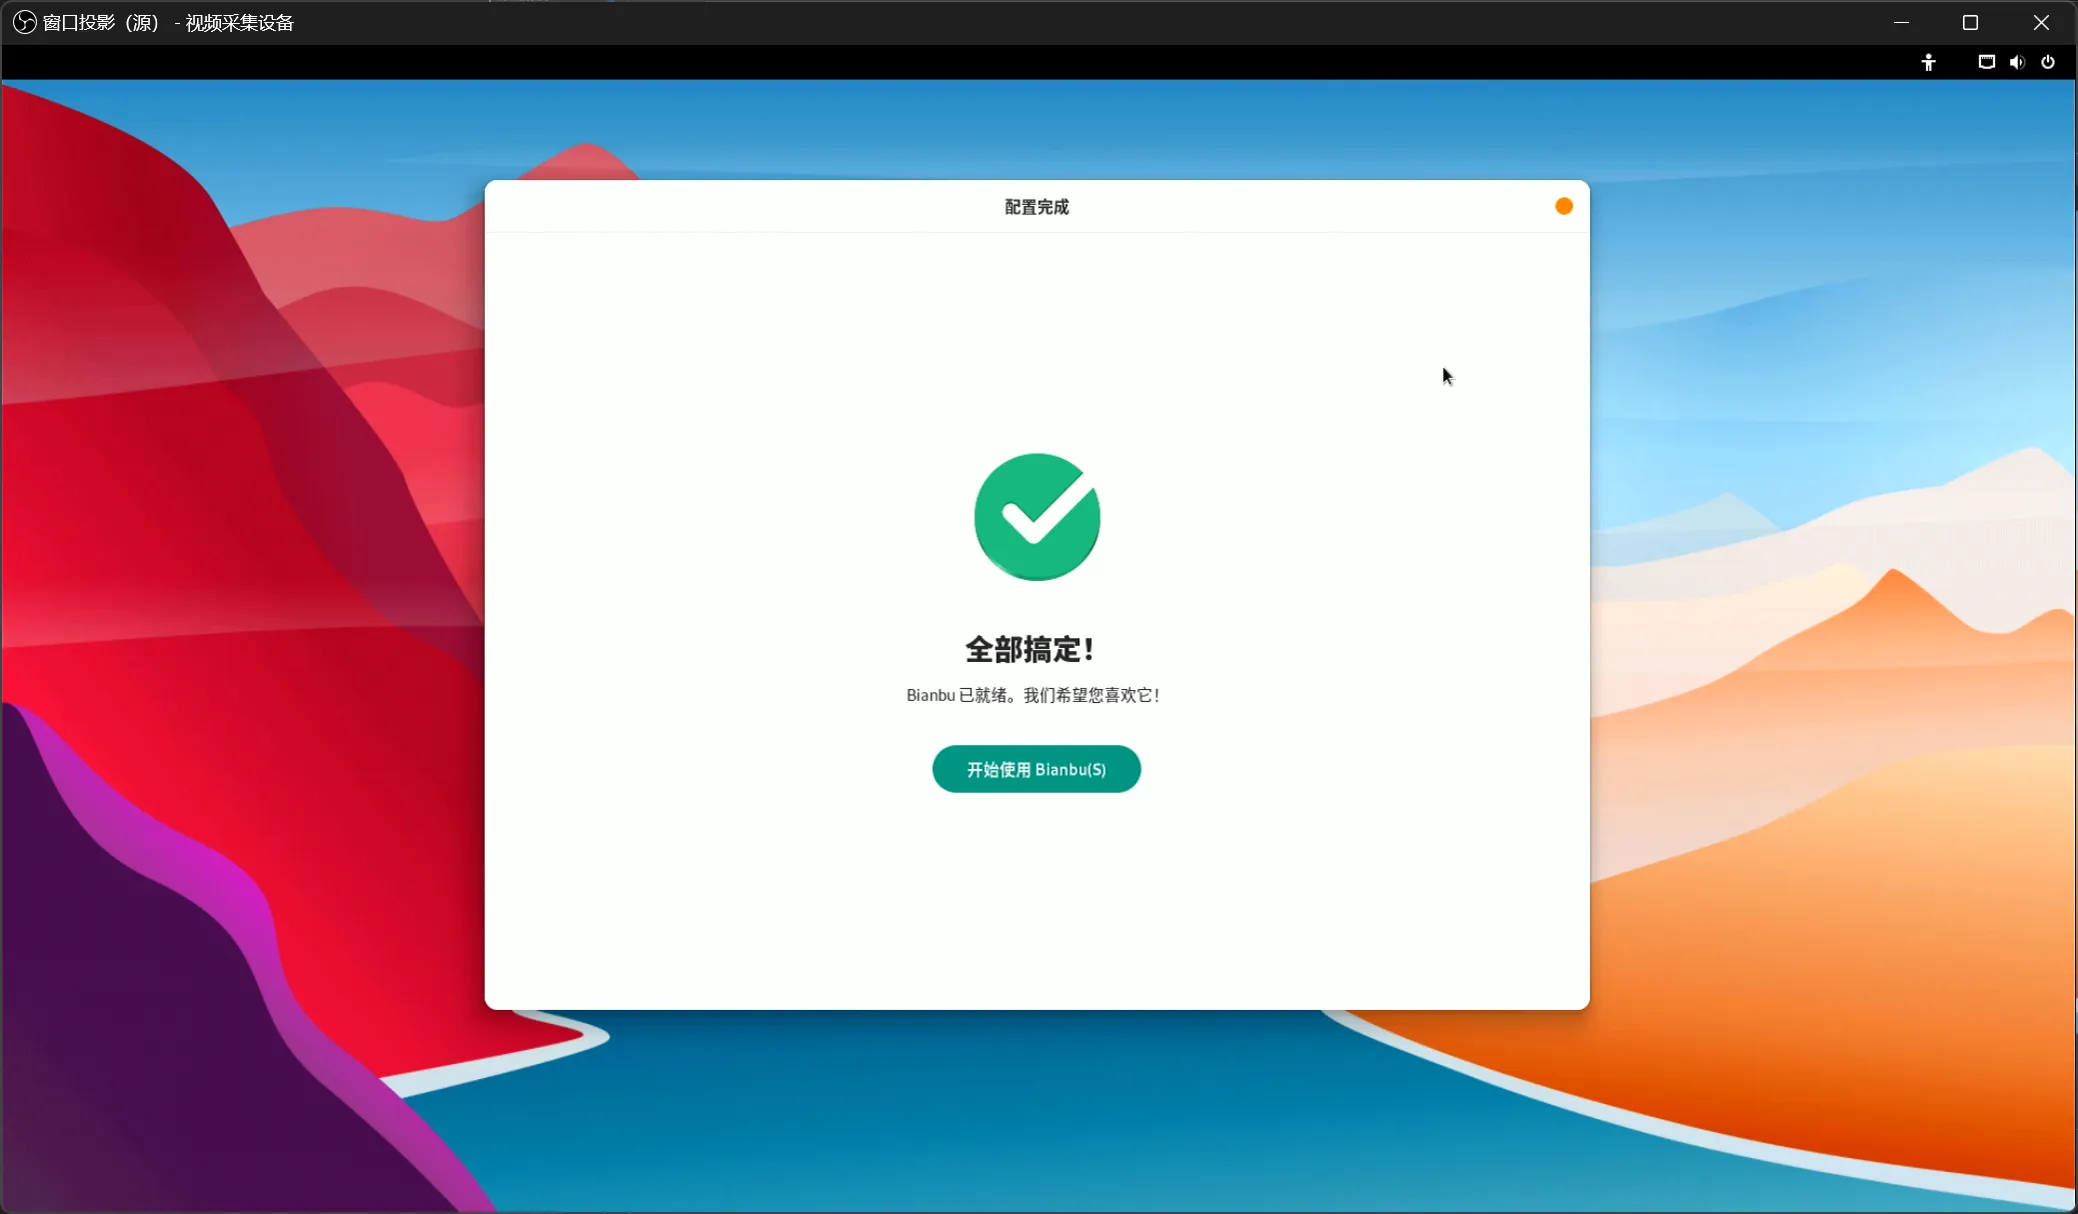
The desktop image should have working HDMI output, and the user can complete the quick start guide, setup account and log into the desktop.
Actual Results
Same as expected.
Boot Log
asciicast: 
Test Criteria
Successful: The actual result matches the expected result.
Failed: The actual result does not match the expected result.
Test Conclusion
Test successful.
Source: Support Matrix